So now that we're hitting the two month anniversary, people have been asking us how married life is. What am I to tell these people? My response has been sort of flippant... At least now my parents won't be embarassed if I get knocked up, and people don't start to shift from side to side and hang their head as if they just heard some dirty little secret when I mention LIVING with a MAN. But honestly, I don't really feel like anything has changed except for the outside world's view. I feel just as committed today as I did a year ago. I just have extra bling now. Okay, and maybe it's just less pressure. I'm hoping that this is all good, and not just the honeymoon period. Oh wait, that starts in about a week! Yay!
Enough about that already... I know what you're really here for.

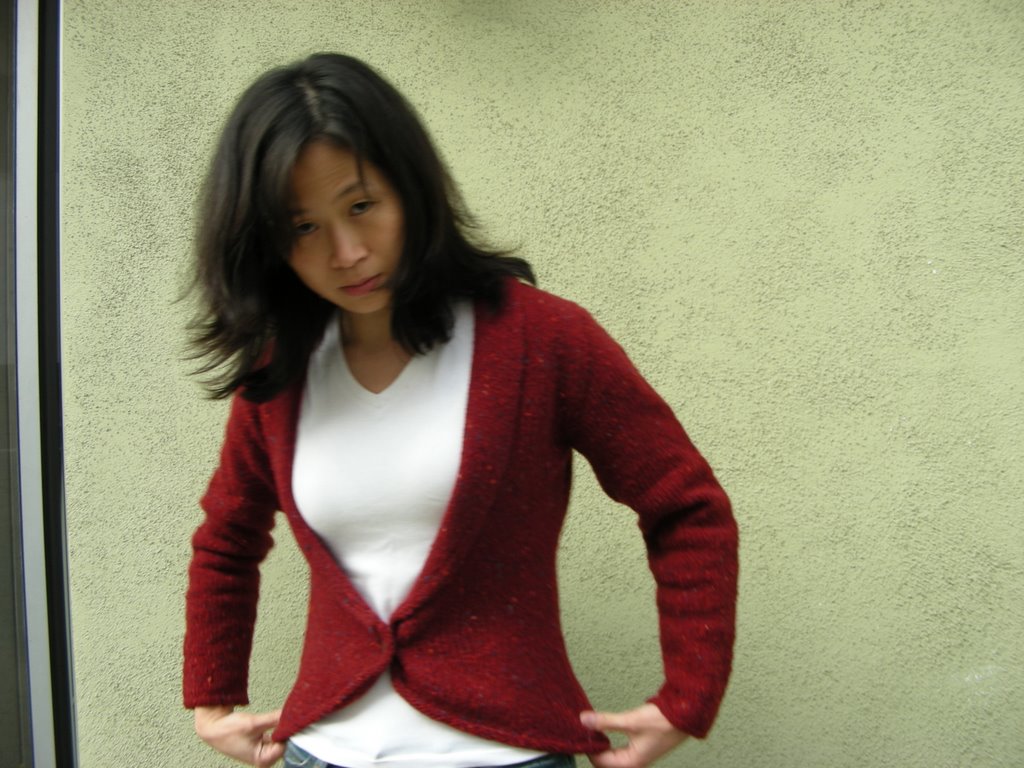
Equestrian Blazer by Kate Gilbert
Pattern in Interweave Knits Winter 2006
Materials: Rowanspun Aran (100% wool. 220 yd per 100g skein) 340g in Gables. Size 5 Knitpicks Options needles.
Gauge: 19sts/30 rows = 4" pre-blocking
Finished size: 33" bust, 22" long (neck to middle of back hem), 21" from shoulder seam to cuff after AGGRESSIVE blocking.
Total yarn cost: $26 from Cucumberpatch UK
Started: November 8, 2006
Finished: December 12, 2006
Modifications:
Accidentally removed 1" of length just before shaping for armhole. Fudged the edging.
Discussion:
 Where to begin. First, the fit I think turned out okay. I wore the sweater a bit more and it stretched some in addition to the aggressive stretching and pulling while the whole thing was wet to adjust the size. I attribute all remaining issues I have with the fit to the -1" of "petite fudge factor" I accidentally added. The collar opening is pretty wide, and since the whole thing is about an inch higher than it should be, the collar sort of sits on my chest a bit strangely. If my girls were any bigger, I think this would be disastrous. As it were, it doesn't seem to be a major problem, but I don't love the way the bottom of my shirt sticks out from the hem of the jacket. The jacket just isn't long enough. No, I'm not going to cut and graft in extra length. Not on a seamed sweater. I'll live with it, thanks. BTW, here's where I'm trying out the new camera's 3 second delay function. The old camera only had a 10s option. Yeah, 3s is just not long enough.
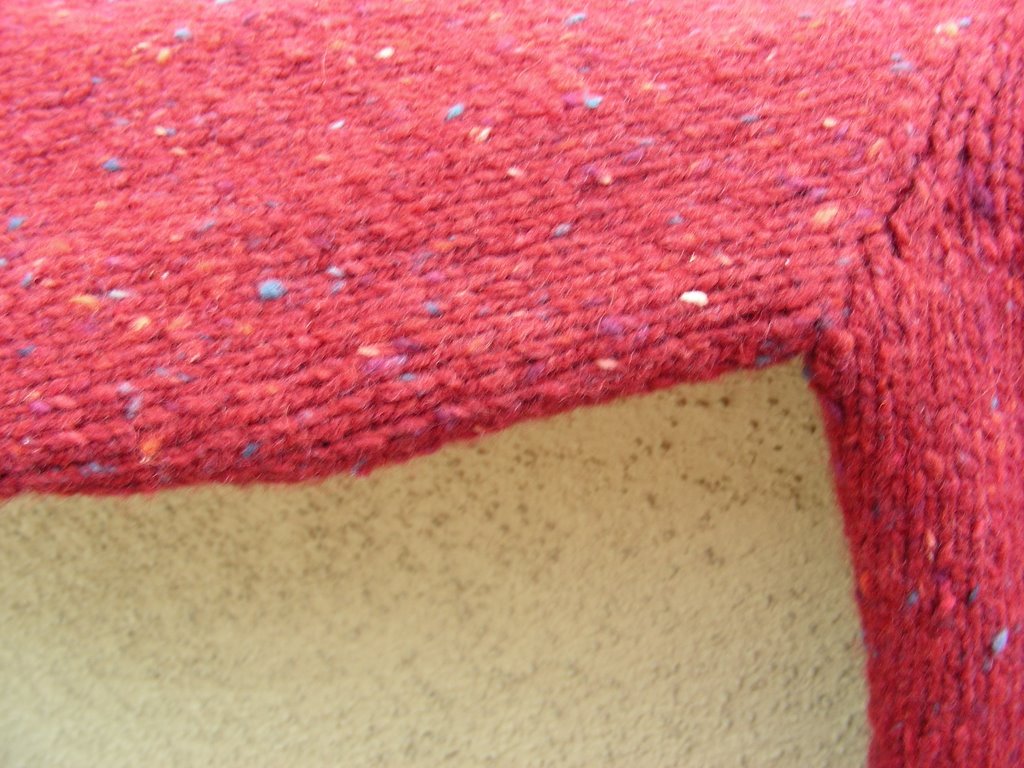
 The edging is where I last left off, isn't it? Well, I decided to go back and pick up 4 sts for every 5 rows for the collar edging and 1 st for every cast on st for the bottom edging. I knit one more row and bound off in purl so it would be a looser bind off, and this worked like a charm. An unexpected hurdle was the simple instruction, "seam the short selvedges" between the collar and bottom edgings. Great, the only problem is that the edging switches right sides between the collar and the front opening, so it'll just look weird if I seamed it straight up. So I decided to sort of roll up the edging into a tube at the point where it meets and I seamed the pick up st of one to the cast off st of the other and worked around. At least this way, the reverse stockinette side is always facing, even if it looks a bit awkward upon REALLY CLOSE inspection. The only issue remaining was the collar's tendency to curl. The collar then met the steam iron and decided to behave. BTW, that one row buttonhole is my new favorite as it just looks so clean and has nice firm edges.
There were two things about the pattern that I would change if I had to do it all over again in addition to the edging modification I mention above. The sts for the left front (but not the right) were a b*tch to pick up on collar shaping rows. Upon careful consideration, I think this is because the increases on the left are done on the edge stitch, but on the right, they are done 1 stitch in from the edge, thus creating a nice selvedge to pick up sts from. It boils down to changing the collar shaping directions to ... purl to the last collar stitch, with the left needle, lift the purl bump two rows below last st completed and purl it, purl 1. See "Knit Left Loop" at knittinghelp.com for an example of this on the knit side.
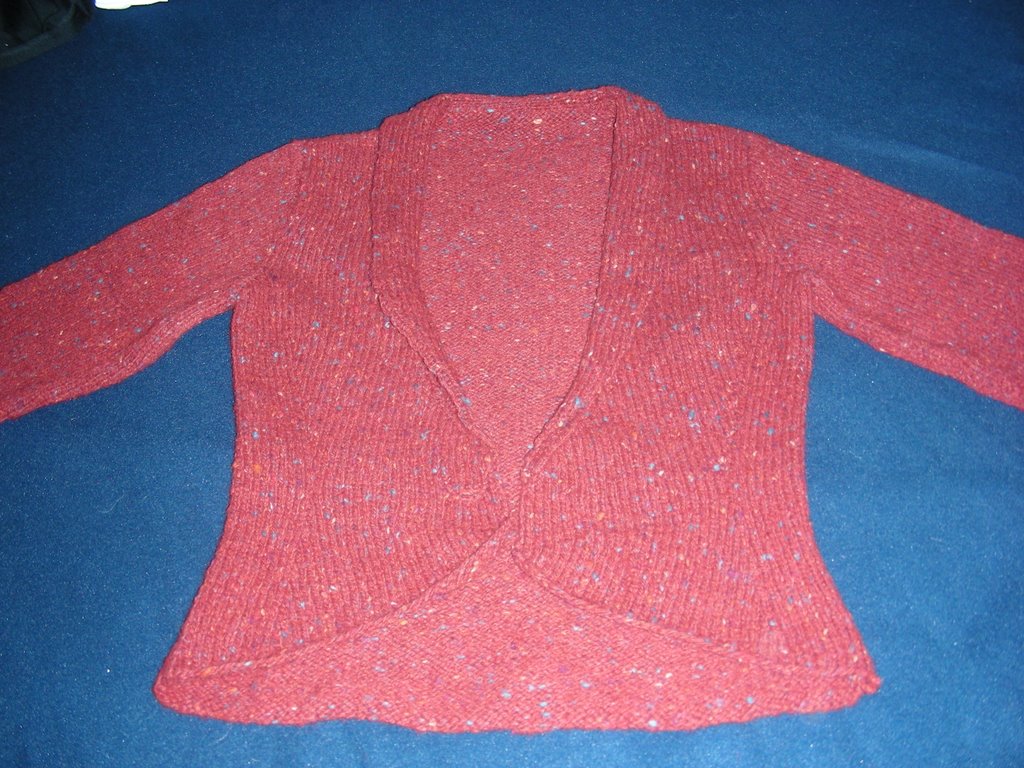
 I'd also change the sleeve increases. I followed the pattern exactly and had to knit straight from the last set of increases for 3+ inches before starting the sleeve cap shaping. This indeed formed a little, barely noticeable point under the arm as Jenna Wilson warned me. I asked the designer if this was as she intended it to be since the schematic made it look like the increases ended just before the sleeve cap shaping. She said it'd be fine, so I went with it. The sleeves look okay, but they do look a bit more roomy through the forearm than they do at the bicep, and I think that's because too many of the increases were placed lower on the sleeve. For my taste, I'd spread them out more and increase the overall length a bit as well. The sleeves seem short to me (and I have short arms!) and I made them to the specified length. It boils down to adding 2 rows between sleeve increases in the pattern.
Overall, the look is classic and there were plenty of clear, shaping instructions to keep your attention. This was certainly not a boring knit and if you like short rowing, this pattern is for you! The knitting was also pretty fast as it took less than 3 weeks of off and on knitting to complete all the pieces. It took just as long to seam and decide the fate of the edging.
A word about the yarn: Rowanspun Aran is a great bargain since the yardage is unbelievable and can be found on sale since it's been discontinued. The labelled gauge of 16 sts/4 inches seamed too loose for the yarn, but 17-18 sts was just fine. The yarn is a bit of a pain to work with as it's dry and stringy, but once washed, it softens nicely and fluffs up into an attractive fabric. There are definitely variations in the thickness of the yarn and the tweedy flecks make it a pain to maintain consistent tension. But of course, I love the look of tweed, so I'll put up with it. But DO NOT, under ANY circumstances, attempt to mattress stitch with this yarn! Pulling more than a couple of stitches together resulted in yarn breakage, so I had to be very careful to adjust the tension of the seam on EVERY row and even then I had a few breaks requiring me to undo the seam by an inch or two and felt the yarn back together. It was a royal pain and took me the better part of a day to seam everything! Unfortunately, I was stuck away from home due to a snow storm and had no other yarn to seam with, so this was my only option. A crocheted seam might have been okay, but I'd just as rather recommend seaming with a different yarn.
Previous posts about this project:
Just do it! on November 7, 2006
Progress on November 10, 2006
Why we block on November 20, 2006
The Suspense on December 8, 2006